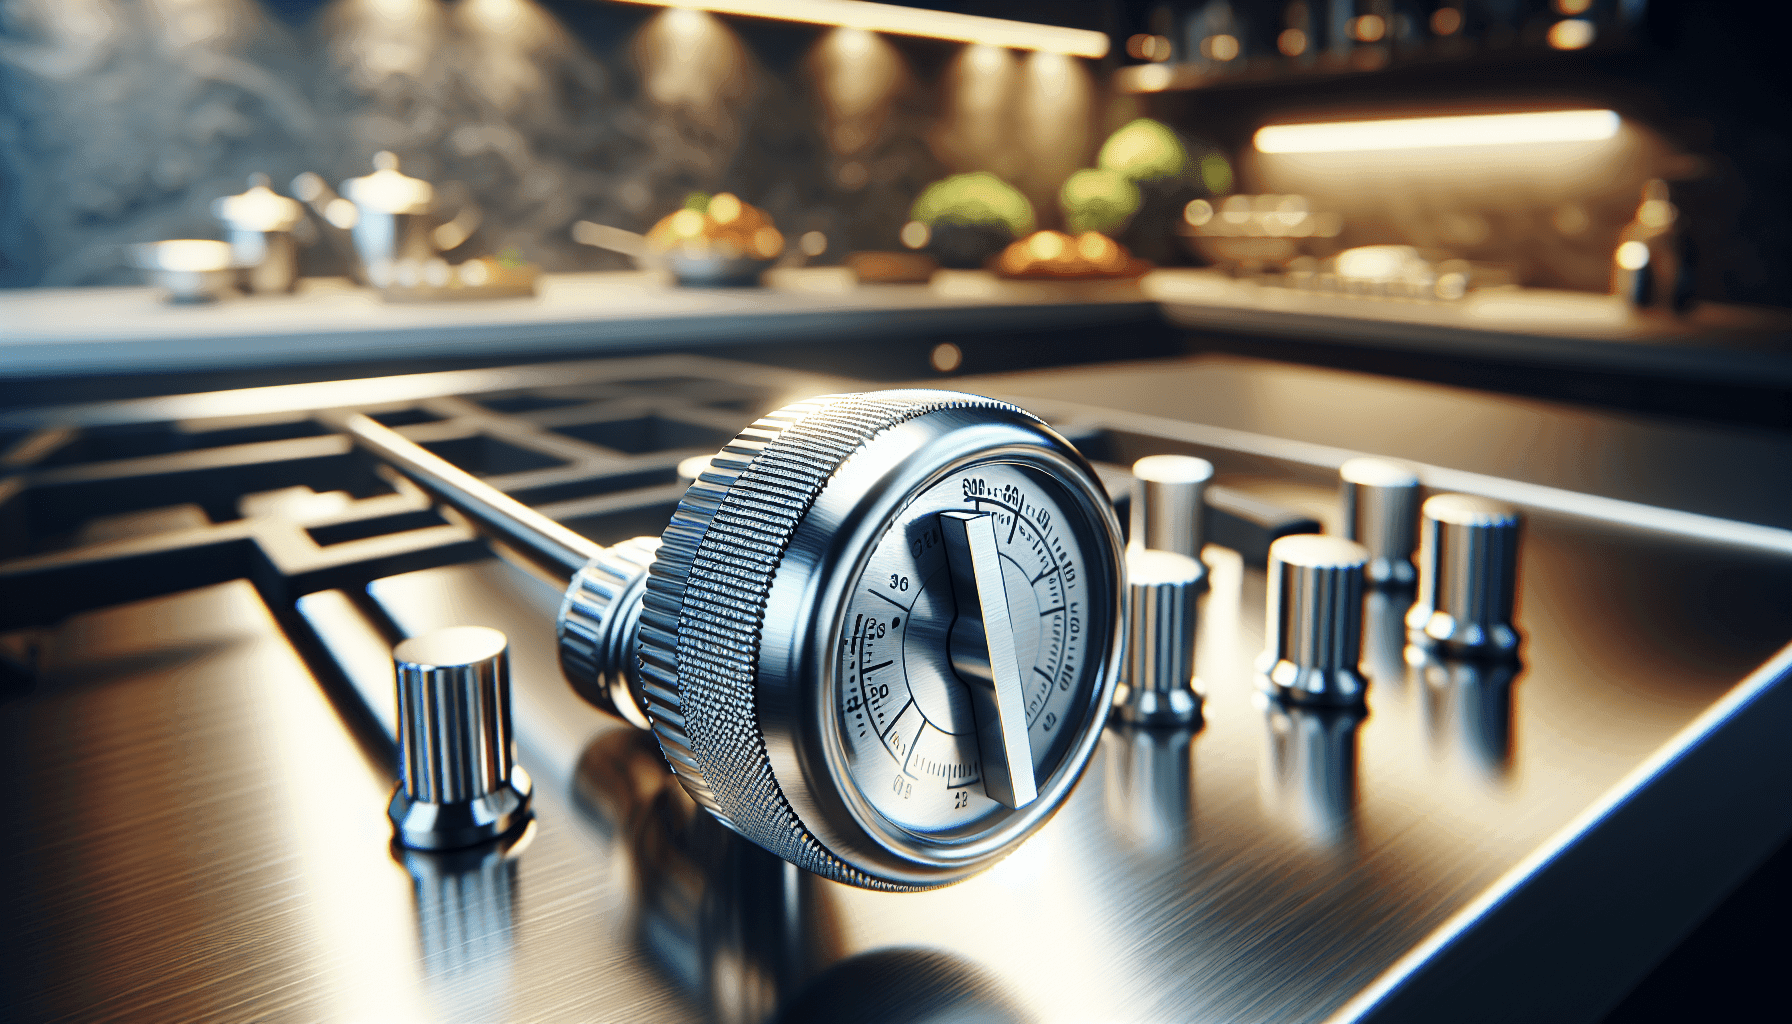
Have you ever wondered how to keep your gas grill functioning at its best, especially when it comes to maintaining the temperature control valve? Keeping this crucial component clean can seem like a daunting task, but with a little guidance, it gets much easier. The temperature control valve is vital for ensuring your grill cooks evenly, turning your backyard barbecues into a culinary delight every time. In this article, we’ll walk you through the steps of how to clean it effectively, lending helpful tips along the way.
Understanding the Importance of the Gas Grill Temperature Control Valve
Before jumping into the cleaning process, it’s useful to understand the role of the temperature control valve in your gas grill. This component regulates the flow of propane or natural gas, directly influencing the heat intensity and cooking consistency. A clean valve optimizes the grill’s performance and makes sure your food cooks evenly and deliciously.
Why Clean the Temperature Control Valve?
Over time, grease, dirt, and residue buildup can negatively affect the functionality of your grill. A clogged valve can result in uneven cooking temperatures, which can be particularly frustrating when you’re looking to achieve that perfectly grilled steak or tender vegetables. Regular maintenance, including cleaning the temperature control valve, helps prevent these issues and prolongs the life of your grill.
Gathering the Necessary Supplies
Cleaning a gas grill temperature control valve doesn’t require specialized equipment, but having the right materials on hand will make the process smoother. Below is a list of items you’ll need:
- Screwdriver: Use this to access the valve by removing any detachable panels.
- Soft Bristle Brush: Essential for gently scrubbing away buildup without damaging the valve.
- Paperclip or Toothpick: Perfect for unclogging small orifices.
- Dish Soap: A mild detergent helps cut through grease.
- Warm Water: Effective for rinsing away soap and dissolved grime.
- Towel or Cloth: For drying the components thoroughly after cleaning.
Having these supplies ready before you start the task ensures a seamless cleaning process, allowing you to concentrate on each step without interruption.
Preparing Your Grill for Cleaning
Taking a few preparation steps can make the cleaning process safer and more effective. Here’s a quick guide to ensure you’re ready to get started:
Turn Off the Gas Supply
First and foremost, safety is paramount. Make sure the gas supply to the grill is completely turned off. This precaution prevents any accidental leaks or releases of gas while you’re working on the grill.
Detach the Propane Tank or Source
If your grill uses a propane tank, detach it from the grill to eliminate any risk of gas leakage. This step is crucial to prevent any accidents or mishaps while you’re cleaning.
Disassembling the Grill Parts
To access the temperature control valve, you’ll need to disassemble certain parts of your grill. The aim is not to strip the grill down completely, but rather to expose the valve safely.
Remove the Grates and Burners
Start by taking out the grates to create space to work. Once they’re out of the way, focus on the burner tubes. Depending on your grill model, these might come out easily or require unscrewing. Handle all parts carefully and set them aside for later reassembly.
Access the Control Valve
With the grates and burners removed, you should be able to see the temperature control valve. You might need to remove a cover panel to gain full access. Use your screwdriver for this step, and keep any screws or small parts in a safe place for later reattachment.
Cleaning the Temperature Control Valve
Once you have access to the valve, the actual cleaning can begin. This process is straightforward but requires a gentle touch to avoid damaging any components.
Scrubbing the Surface
Using the soft bristle brush, gently scrub the valve to remove any surface debris and grease. The aim is to clear away the buildups without scratching or harming the metal. If there’s stubborn grease, a little dish soap can help dissolve it.
Cleaning Internal Components
The orifices in the valve tend to get clogged, which can restrict gas flow. Using a paperclip or toothpick, carefully clean these openings. Take care to avoid applying too much force, as this might widen the hole, impacting the valve’s functionality.
Washing Off Residual Dirt
After scrubbing, use warm soapy water to wipe down the valve. This step ensures all residue and soap are removed, leaving the valve clean and ready for reassembly.
Dry Thoroughly
Using a towel or cloth, dry the valve completely. Any leftover moisture could lead to rust or further grime buildup, which can impede the function of the valve later on.
Reassembling Your Grill
Once the valve is clean and dry, it’s time to put your grill back together. This task is simply the reverse of the disassembly, and it’s important to ensure each part is properly attached.
Replace the Control Valve Cover
Begin by refitting the control valve cover, if applicable. Secure it with the screws you set aside earlier, making sure it’s aligned properly for optimal protection and functionality.
Reinstall Burners and Grates
Return the burner tubes to their respective positions, ensuring they’re securely fitted before replacing the grates. Having these parts correctly installed guarantees even heat distribution when you next light the grill.
Reattach the Propane Tank or Gas Source
Safely reconnect the propane tank or gas line to your grill. Double-check all connections to ensure there are no gas leaks, which could prove hazardous.
Tips for Ongoing Maintenance
Proper maintenance not only keeps your grill running smoothly but also extends its lifespan. Here are a few tips to keep your temperature control valve in top condition:
Regular Cleaning
Establish a cleaning routine after every few uses. This practice prevents excessive buildup and ensures that the grill operates efficiently. More frequent cleanings won’t demand as much effort since there will be less residue accumulation to deal with.
Inspect for Wear and Tear
Occasionally inspect the valve and surrounding parts for any signs of wear and damage. Early detection can prevent minor issues from escalating into major problems that compromise your grilling experience.
Store Properly
If you’re storing the grill for an extended period, take proactive steps to protect it from elements that might cause rust or dirt accumulation. Cover the grill and ensure it’s kept in a dry place to maintain its functionality.
Troubleshooting Common Issues
Even with regular cleaning, you might experience issues with your grill’s temperature control. Here are some common problems and how to address them:
Uneven Flame or Heat
If the flame is uneven despite a clean valve, the burner may be misaligned or there might be more buildup within the tubes. Recheck alignment and clean the burner tubes thoroughly.
Difficulty in Adjusting Temperature
Issues in adjusting heat can stem from the valve itself or be related to other components. Ensure the valve is securely reattached and there isn’t any residual grease affecting its operation.
Persistent Blockages
If you notice repetitive clogs, consider using a specific gas grill cleaner or consult a professional for in-depth grilling system maintenance.
Conclusion
Keeping your gas grill temperature control valve clean is a manageable task that can significantly enhance your grilling experience. By following these steps and maintaining a regular cleaning schedule, you ensure that your beloved grill remains reliable season after season. The knowledge to effectively clean and care for your grill means you’re always prepared for the next cookout, ensuring every meal you prepare is a delight for you and your guests. Happy grilling!
