
If you’ve ever experienced the frustration of a clogged burner on your gas grill, worry no more! This article will provide you with an easy and effective method to clean out those stubborn blockages, ensuring your grill operates at its best. Whether it’s a buildup of grease or debris, we’ve got you covered. So, grab your cleaning supplies and let’s get that burner back to its prime condition!

Identifying the Problem
Knowing the signs of a clogged burner
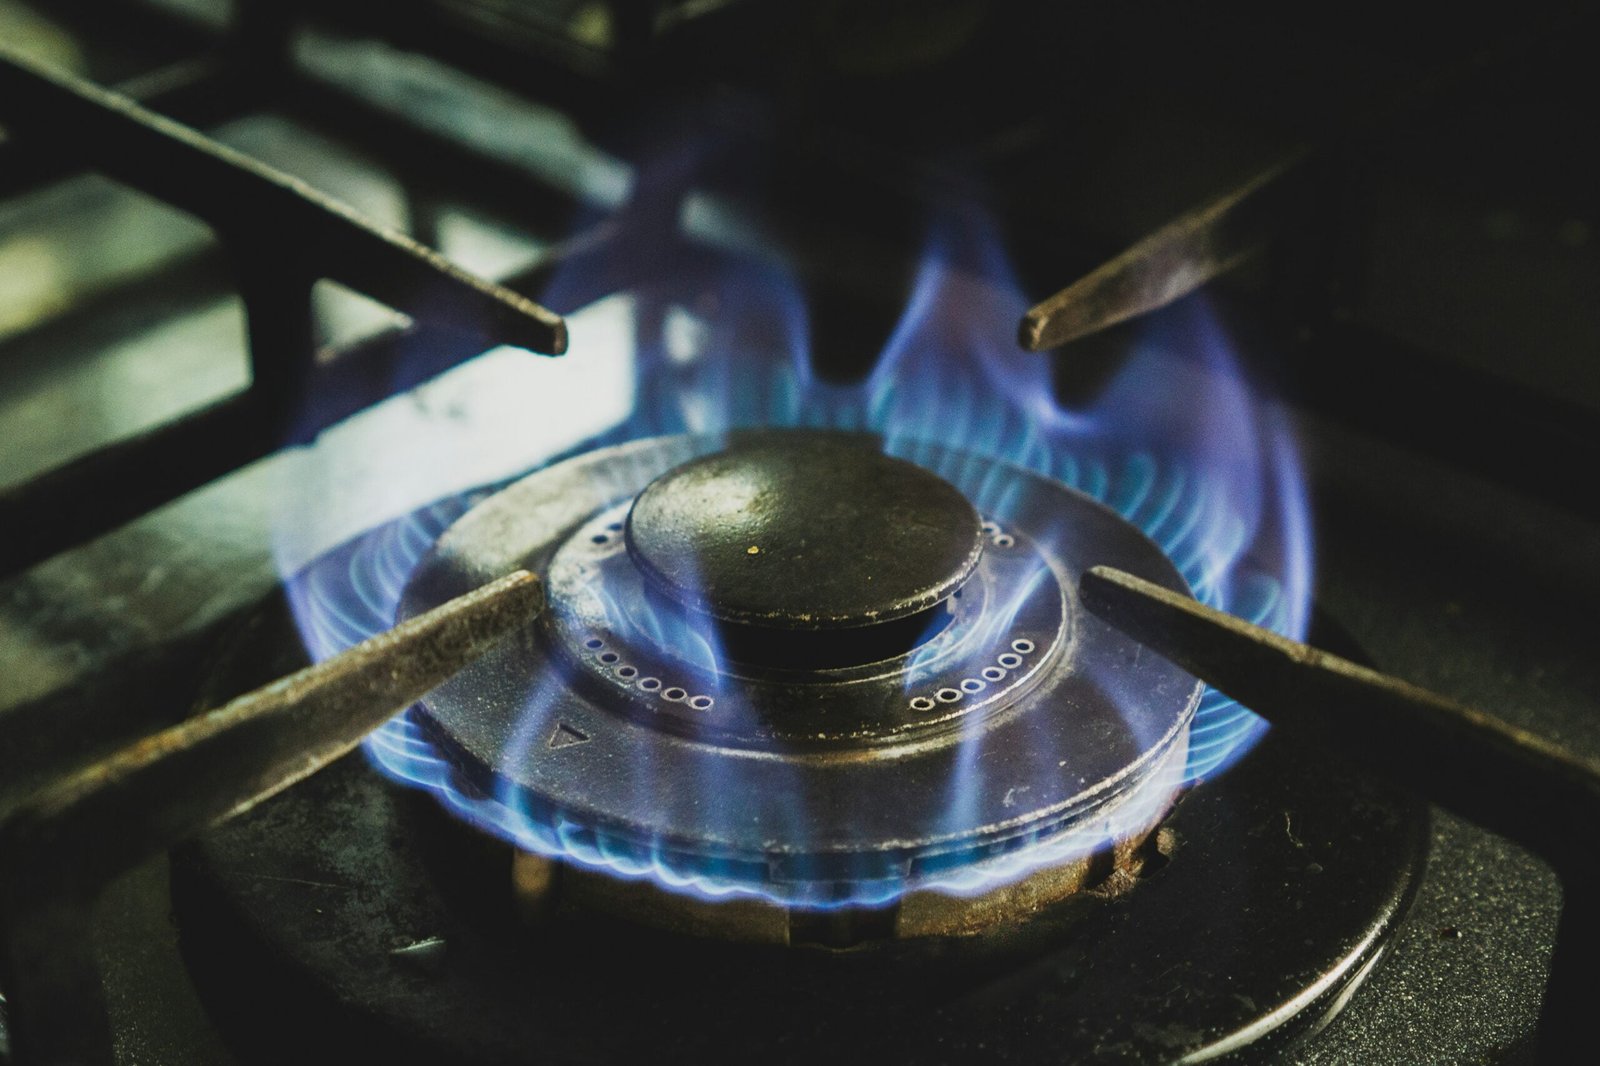
When your gas grill burner is clogged, you may notice several signs indicating the problem. One common sign is a weak or uneven flame, where the flame appears smaller than usual or has uneven distribution across the burner. Another sign is the burner failing to light consistently or taking longer to ignite. Additionally, if you see any visible debris or soot on the burner, it could suggest a clog.
Locating the clogged burner
To identify which burner is clogged, you can begin by turning on each burner individually and observing the flame. If one burner exhibits the signs mentioned earlier, it is likely the one that needs cleaning. However, it’s still a good practice to clean all the burners simultaneously to ensure optimal grill performance.
Understanding why burners get clogged
Burners can become clogged due to various reasons. One common cause is the accumulation of grease, drippings, or food particles on the burner surface or within the tiny holes where the gas flows. These deposits can restrict the flow of gas, leading to inefficient burning and reduced heat output. Additionally, rust or corrosion can also contribute to burner clogs over time.
Safety Measures
Disconnecting the gas tank first
Before starting any cleaning procedures, it is crucial to ensure your safety by disconnecting the gas tank. This step prevents any accidental gas leaks or fire hazards. Simply turn off the gas supply using the valve on the tank, and then loosen the fitting connecting the tank to the grill. Once disconnected, you can proceed with confidence knowing there is no risk of gas flow.
Wearing protective gear
To protect yourself during the cleaning process, it is essential to wear appropriate protective gear. This may include gloves to shield your hands from chemical cleaning solutions or debris, safety goggles to prevent eye irritation, and a dust mask to avoid inhaling any loosened particles. These measures will safeguard you from potential harm and ensure a safe cleaning experience.
Ensuring ample ventilation
When cleaning a clogged burner, it’s vital to have proper ventilation in your workspace. Gas grills produce carbon monoxide, a colorless and odorless gas that can be dangerous when inhaled in high concentrations. Therefore, it is recommended to clean the burner in an outdoor or well-ventilated area to prevent the buildup of harmful gases.
Gathering the Necessary Tools
Acquiring cleaning materials
To effectively clean a clogged burner, you will need a few cleaning materials. Firstly, you should have a bucket or sink filled with warm soapy water as a general cleaning solution. Additionally, a wire brush with stiff bristles will be useful for removing surface debris. For stubborn clogs, a pin or toothpick can be valuable tools to dislodge any hard-to-reach debris within the burner holes.
Choosing the right kind of brush
When selecting a brush for cleaning the burner, ensure it has stiff bristles made of stainless steel or brass. These materials are durable and resistant to corrosion, making them suitable for removing stubborn debris without damaging the burner surface. Avoid using brushes with soft bristles or those made of materials that can rust, as they may not effectively remove clogs.
Using a pin or toothpick for stubborn debris
For particularly stubborn debris lodged within the tiny burner holes, a pin or toothpick can come to the rescue. Gently insert the pin or toothpick into the holes, being careful not to exert too much pressure that may damage the burner. This method helps dislodge any cooked-on residue or debris, facilitating the cleaning process and restoring optimal gas flow.
Removal of the Burner
Unbolting the burner from the grill
To access the burner for cleaning, you will first need to remove it from the grill. Start by locating the bolts or screws that secure the burner in place. Grab a suitable wrench or screwdriver and carefully loosen and remove these fasteners. Keep track of these bolts or screws to ensure they are not misplaced or lost during the cleaning process.
Lifting out the burner gently
Once the fasteners have been removed, gently lift the burner out of the grill. Be cautious while handling the burner, as it may have sharp edges or fragile components. If necessary, refer to your grill’s user manual for specific instructions on removing the burner safely. Take your time and handle the burner with care to avoid any accidents or damage.
Keeping track of the parts removed
It is essential to keep track of all the parts you remove during the cleaning process. Lay them out in a logical order or use a tray to hold the small components. This practice ensures that reassembly is smooth and that no parts are misplaced or forgotten. By maintaining organization, you can easily clean each component individually without confusion or frustration.

Initial Cleaning of the Burner
Using a brush to remove surface debris
Before applying any cleaning solution, start by using a brush with stiff bristles to remove any loose surface debris on the burner. Gently scrub the burner’s surface, paying close attention to any visible buildup or stubborn residue. This step helps prepare the burner for deeper cleaning by removing loose particles that may become dislodged during the subsequent cleaning process.
Applying a cleaning solution
Once you have removed the surface debris, it’s time to apply a suitable cleaning solution to the burner. You can use warm soapy water from your bucket or sink, ensuring that the burner is fully submerged if possible. Allow the burner to soak in the cleaning solution for a sufficient amount of time to loosen any tough or stubborn buildup.
Allowing the cleaner to penetrate the debris
After applying the cleaning solution, it’s important to give it enough time to penetrate the debris. This allows the solution to break down the grease, grime, and other clogs, making them easier to remove during the cleaning process. Check the instructions provided with the cleaning solution to determine the appropriate duration for soaking the burner.
Detail Cleaning
Poking through the tiny burner holes
To effectively clean the burner’s tiny holes, use a pin or toothpick to dislodge any remaining debris. Gently insert the pin or toothpick into each hole, moving it back and forth to loosen any clogs. Be careful not to apply excessive force, as this can damage the burner and its delicate parts. Repeat this process for all the burner holes until they are clear of obstructions.
Brushing the burner to further remove clogs
After clearing the burner holes, take your brush with stiff bristles and scrub the entire burner surface once again. Focus on areas that had stubborn buildup or clogs to ensure they are completely removed. By using the brush in combination with the pin or toothpick, you can thoroughly clean the burner and restore optimal gas flow for improved grill performance.
Reapplying cleaning solution if necessary
If you encounter any persistent clogs or tough residues during the detail cleaning process, reapply the cleaning solution and allow it to penetrate the debris once more. This additional soaking time can help further loosen and dissolve stubborn buildup. Remember to follow the instructions of the cleaning solution to prevent any adverse effects on the burner or its components.

Rinsing and Drying the Burner
Thoroughly washing off the cleaning solution
After the cleaning solution has effectively loosened the debris, it’s time to rinse off the burner. Use clean water to thoroughly rinse the burner, ensuring that all traces of the cleaning solution are removed. Pay special attention to the burner holes, ensuring proper flushing to prevent any residual cleaning solution from affecting the gas flow or igniting improperly.
Ensuring no cleaning solution is left within the burner
To ensure optimal functionality and safety, it is crucial to check for any remnants of the cleaning solution within the burner’s interior. Inspect all nooks and crannies, paying attention to the burner holes and any crevices where the cleaning solution may have pooled. Wipe away any remaining solution using a clean cloth or paper towel, ensuring a dry and residue-free burner.
Drying the burner entirely to avoid rusting
Before reassembling the burner, it is essential to ensure its complete dryness to prevent rusting. Use a clean cloth or allow the burner to air dry naturally, ensuring that no moisture remains within its components. If necessary, consider using a hairdryer on a low heat setting to speed up the drying process. By taking this step, you can prolong the lifespan of your burner and maintain its performance.
Reassembly
Replacing the burner back into the grill
Now that the burner is clean and dry, it’s time to reassemble it back into the grill. Carefully lower the burner into its original position, aligning any mounting holes or slots with the grill’s corresponding features. Take your time to ensure proper alignment, as misplacement may lead to inefficient burning or other operational issues.
Properly attaching any bolts or parts removed
Once the burner is correctly positioned, reference the bolts or screws you removed earlier during the removal process. Carefully attach them to secure the burner back in place. Tighten the fasteners with the appropriate tool, ensuring a firm but not overly tight grip. Double-check that all attachments are secure before proceeding to the next step.
Reconnecting the gas supply
With the burner securely reattached, it’s time to reconnect the gas supply. Reattach the gas line to the grill, making sure it is properly aligned and tightened. Once the connection is secure, slowly turn on the gas valve on the tank. Perform a quick check for any potential gas leaks by applying a solution of soapy water to the connections and observing for any bubbling. If no bubbles appear, you can proceed with confidence.
Testing the Burner
Initiating a test run of the grill
Now that the burner is cleaned, reassembled, and the gas supply is reconnected, it’s time to test the grill. Turn on the burner and ignite it according to your grill’s instructions. Observe the flame pattern and its intensity to ensure it is normal and consistent. Take note of any irregularities or signs of clogs that may persist even after cleaning, as these may indicate the need for further maintenance.
Identifying if the flame pattern returns to normal
As the burner heats up, observe the flame pattern closely. If the cleaning process was successful, the flame should appear strong and evenly distributed across the burner. It should also be free from any irregularities such as flickering or sputtering. A consistent and robust flame pattern is an indication that your cleaning efforts have effectively cleared the clog and restored the burner’s optimal performance.
Testing the heat distribution
In addition to observing the flame pattern, it’s important to test the heat distribution on your grill. Close the grill’s lid and allow it to reach a stable temperature. Then, check the temperature across the grates using a grill surface thermometer. Ensure that the heat is evenly distributed, with no significant variations in temperature from one side of the grill to another. This ensures that your burner is functioning properly and evenly heating the grill’s cooking surface.
Maintaining Clean Burners
Regularly cleaning your burners
To prevent clogs and maintain efficient performance, it is advisable to clean your burners regularly. Incorporate a grill maintenance routine into your grilling habits, ensuring that you clean the burners before or after each use. Regular cleaning helps prevent the buildup of grease, food particles, and other debris, reducing the likelihood of clogs and prolonging the lifespan of your burner.
Checking for clogs periodically
Even with regular cleaning, it’s important to periodically check for any signs of clogs or reduced burner performance. Conducting visual inspections of the burner, especially before important grilling occasions, allows you to proactively address any potential issues. By being attentive and catching clogs early on, you can prevent further damage, maintain optimal grill performance, and enjoy hassle-free grilling experiences.
Knowing when a burner may need replacing
Despite regular cleaning and maintenance, there may come a time when a burner needs to be replaced. If you notice severe corrosion, rusting, or irreparable damage on the burner, it may be necessary to invest in a new one. Additionally, if clogs persist despite thorough cleaning or if the burner’s performance continues to decline, it is an indication that replacement is needed. Always consult your grill’s manufacturer or a professional if you are unsure about the condition or replacement of your burner.
By following these comprehensive steps, you can successfully clean a clogged burner on your gas grill. Maintaining clean burners is key to enjoying efficient grilling and preventing potential safety hazards. So, gather your cleaning tools, prioritize safety, and embark on a journey to restore your burner’s performance and enhance your grilling experience. Happy grilling!