Grill marks on meat can add an appealing aesthetic touch to your dishes, making them look even more appetizing. You may have admired those perfectly seared lines on a juicy steak, but wondered how to recreate them at home. Well, worry no more! In this article, we will explore simple techniques and tips to help you achieve those desirable grill marks, elevating your grilling game to the next level. So, grab your apron and spatula – it’s time to master the art of creating beautiful grill marks on meat!
Understanding the Importance of Grill Marks
Enhancement in the Visual Appeal
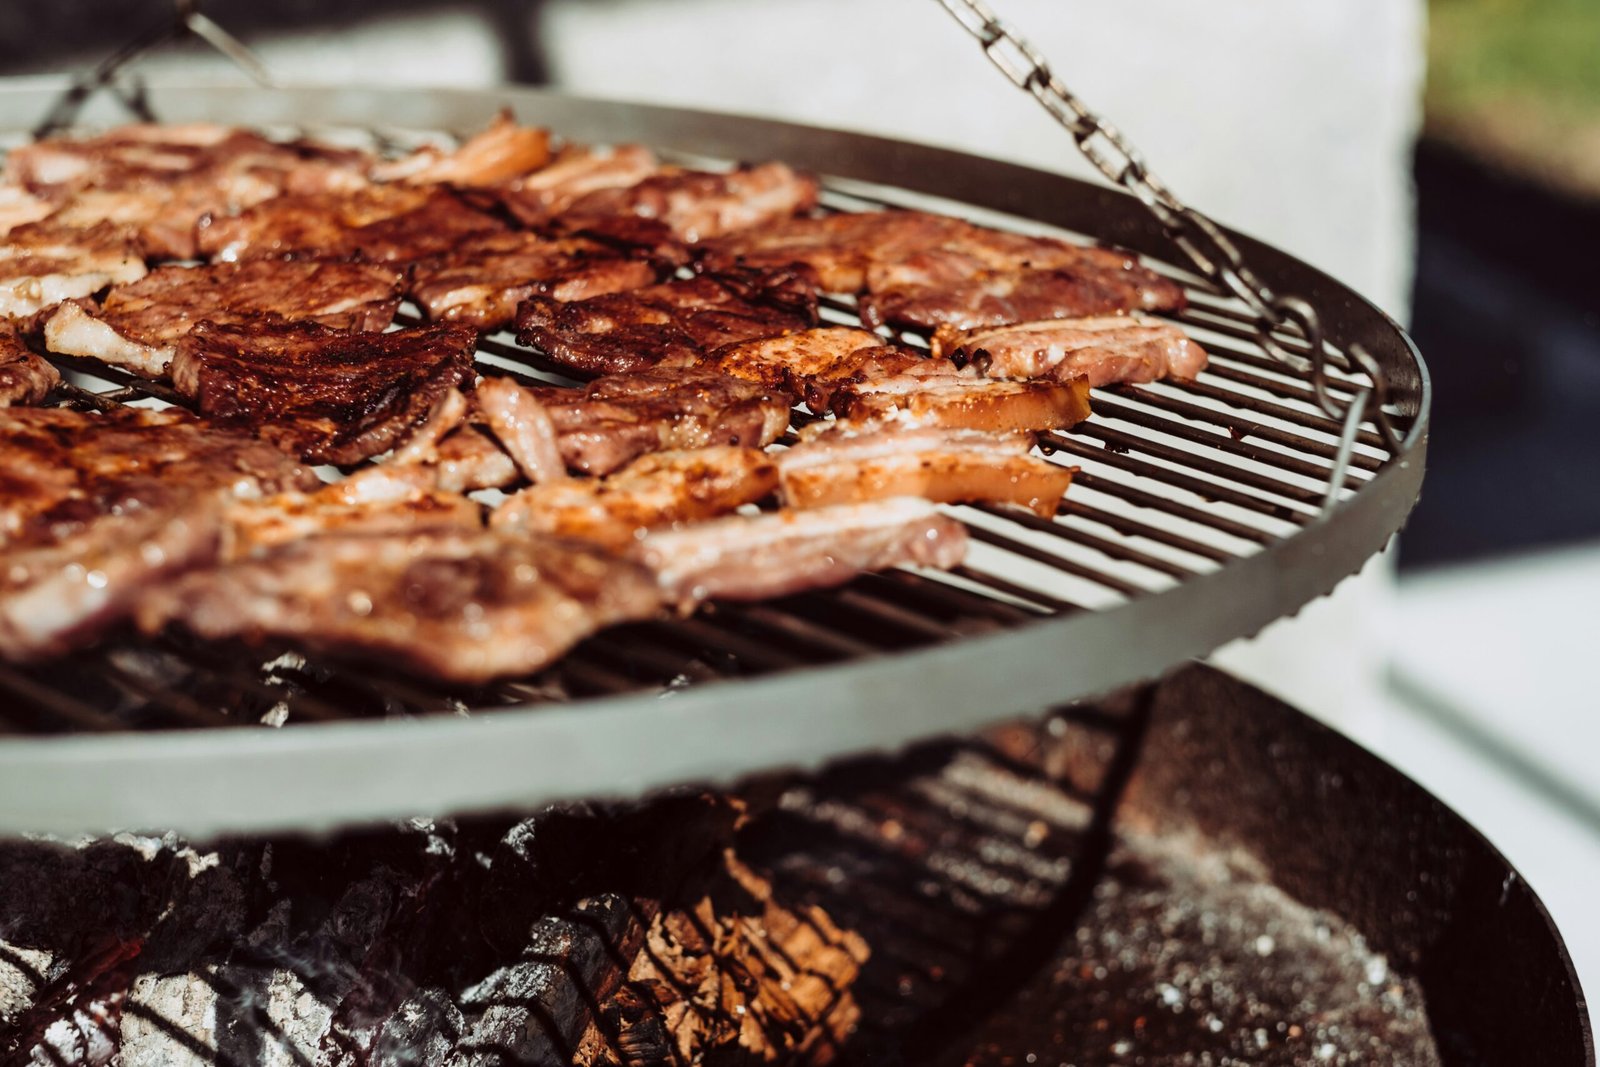
Grill marks on meat play a significant role in enhancing the visual appeal of a dish. They add a touch of sophistication and professionalism to your grilling prowess. Imagine presenting a beautifully seared steak to your guests with those distinct crosshatch grill marks – it’s sure to make a lasting impression. Grill marks create a stunning presentation that makes your dish look even more appetizing.
Contribution to Flavor Profile
Grill marks not only boost the visual appeal but also contribute to the overall flavor profile of the meat. When the heat of the grill comes into contact with the surface of the meat, a Maillard reaction occurs. This reaction causes the amino acids and sugars in the meat to react, resulting in a complex mix of flavors, including caramelization and a hint of smokiness. The charred areas created by the grill marks add depth and complexity to the flavor, making each bite a delightful culinary experience.
Sign of Proper Cooking
Grill marks also serve as a visual indicator that the meat has been properly cooked. When you achieve well-defined, evenly spaced grill marks, it suggests that the meat has been cooked at the right temperature and for the appropriate amount of time. This ensures that the meat is cooked to perfection, with a juicy and tender interior. Grill marks act as a guide to achieving the desired level of doneness, making it easier for you to know when the meat is ready to be served.
Selecting the Right Type of Meat
Best Types of Meat for Grill Marks
Not all types of meat are suitable for achieving those perfect grill marks. Beef cuts such as ribeye, T-bone steak, and strip steak are excellent choices due to their marbling and thickness. The intramuscular fat present in these cuts helps to create a beautiful sear and well-defined grill marks. Additionally, poultry cuts like chicken breast and duck breast can also develop grill marks when properly cooked.
Factors to Consider when Choosing Meat
When selecting meat for grilling, consider factors such as thickness, fat content, and tenderness. Thicker cuts tend to hold grill marks better, as they have more surface area to develop the charred lines. Meats with higher fat content, like ribeye or pork chops, can produce more pronounced grill marks due to the fat rendering and creating additional browning. Tender cuts, such as filet mignon, may not develop grill marks as prominently due to their lean nature.
Dealing with Different Meat Thicknesses
When working with meats of varying thicknesses, it is important to adjust your grilling technique accordingly. Thicker cuts require a longer cooking time to achieve the desired doneness while developing those beautiful grill marks. For thinner cuts, you need to be cautious of overcooking as they can quickly become dry. Adjusting the grill temperature and timing is crucial when dealing with different meat thicknesses to ensure that both the grill marks and the inside of the meat are perfectly cooked.
Preparing the Grill
Cleaning the Grill for Optimal Results
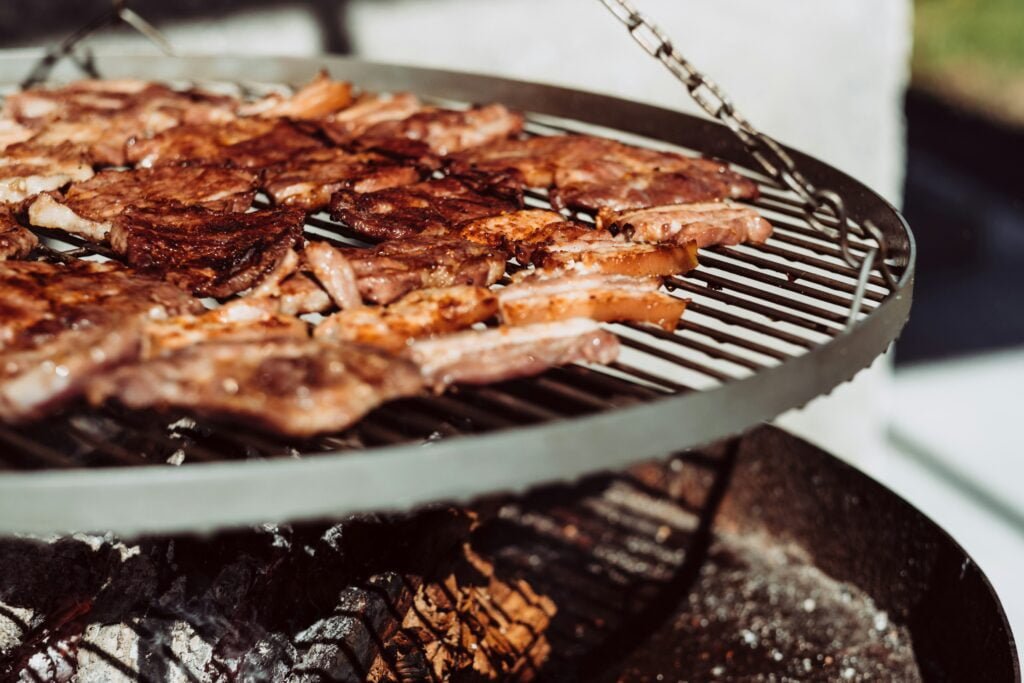
Before getting started, it is essential to ensure that your grill grates are clean. Any leftover residue from previous cooking sessions can disrupt the formation of grill marks or even cause flare-ups. Scrub the grates with a grill brush or scraper to remove any debris or food particles. You can also use a damp cloth or paper towel dipped in oil to wipe the grates, creating a non-stick surface for the meat.
Achieving the Right Grill Temperature
The temperature of the grill is crucial in creating those coveted grill marks. Preheat your grill to high heat to ensure that the grates are adequately heated and ready to sear the meat. Aim for a temperature of around 450-500°F (230-260°C) or higher for proper grill mark formation. This high heat allows for quick searing without overcooking the interior of the meat.
Positioning the Grill Grates
Properly positioning the grill grates is essential for achieving distinct and evenly spaced grill marks. Ensure that the grates are clean and level before placing them on the grill. Position them at a slight angle (about 45 degrees) to create the classic crosshatch pattern. By rotating the meat during cooking, you can achieve the desired diamond-shaped grill marks.
Preparing the Meat
Drying the Surface of the Meat
Before placing the meat on the grill, it is crucial to dry the surface thoroughly. Excess moisture on the meat can hinder the formation of grill marks and lead to steam rather than searing. Pat the meat dry using paper towels to remove any moisture. This simple step helps to ensure proper browning and caramelization, resulting in well-defined grill marks.
Applying Oil to the Meat
To aid in achieving grill marks, it is recommended to lightly brush or coat the meat with oil. This helps promote browning and prevents sticking. Choose a high smoke point oil like vegetable or canola oil, which can withstand high heat without burning. Apply a thin, even layer of oil to the meat using a brush or your hands, making sure to cover all sides.
Seasoning for Improved Flavor
Seasoning the meat not only enhances the flavor but also adds another dimension to the grill marks. Before grilling, sprinkle your chosen seasonings or marinade onto the meat. The spices and flavors will penetrate the surface of the meat, creating a harmonious blend with the seared flavors from the grill marks. Add a touch of salt and pepper to bring out the natural flavors of the meat.
Timing the Grill Marks
Assessing the Ideal Time Duration
The timing for grill marks depends on the type of meat, thickness, and desired level of doneness. On average, grill marks take approximately 2-3 minutes per side. However, keep a close eye on the meat to avoid overcooking or burning. Proper timing ensures that the grill marks are well-defined and the meat is cooked to perfection.
Factors that Influence the Grilling Time
Various factors influence the grilling time and the formation of grill marks. The heat intensity of the grill, distance from the heat source, thickness of the meat, and the desired level of doneness all impact the cooking time. Thicker cuts require more time to develop grill marks, while thinner cuts will sear more quickly. It is essential to adjust the cooking time accordingly to achieve optimal results.
Symptoms of Overcooked or Undercooked Meat
Overcooking or undercooking the meat can result in subpar grill marks and adversely affect the flavor and texture. Overcooked meat may have excessively charred grill marks and a dry, tough interior. On the other hand, undercooked meat will have pale, incomplete grill marks and a raw or chewy texture. It is crucial to monitor the meat’s internal temperature and make adjustments as needed to ensure perfectly cooked and visually appealing results.
Setting the Meat on the Grill
Positioning Meat for Optimal Marks
When placing the meat on the grill, position it diagonally to the grill grates to achieve the desired crosshatch pattern. Lay the meat down gently and avoid pressing it onto the grates, as this may cause the juices to escape and result in uneven cooking. Allow a bit of space between each piece of meat to ensure even heat distribution and consistent grill mark formation.
Safety Precautions when Handling Hot Grill
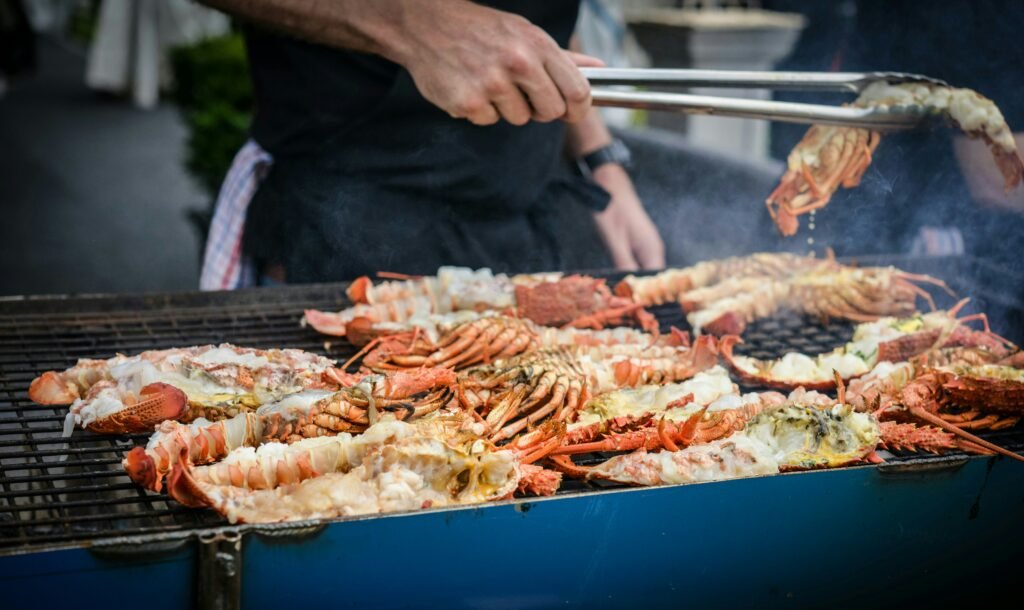
When handling hot grills, it’s important to prioritize safety. Always use long-handled tongs or spatulas to flip and handle the meat, keeping your hands away from direct contact with the grill grates. This helps prevent accidental burns or injuries. Additionally, be mindful of any flare-ups that may occur and have a fire extinguisher or a heatproof glove nearby for added safety.
Understanding the Mechanics of Grill Mark Formation
Grill marks form due to the direct contact between the meat’s surface and the hot grill grates. The high heat causes the sugars and proteins present in the meat to undergo the Maillard reaction, resulting in the browning and caramelization that forms the grill marks. By rotating the meat at the right time and angle, you can achieve the sought-after diamond or quadrant grill pattern.
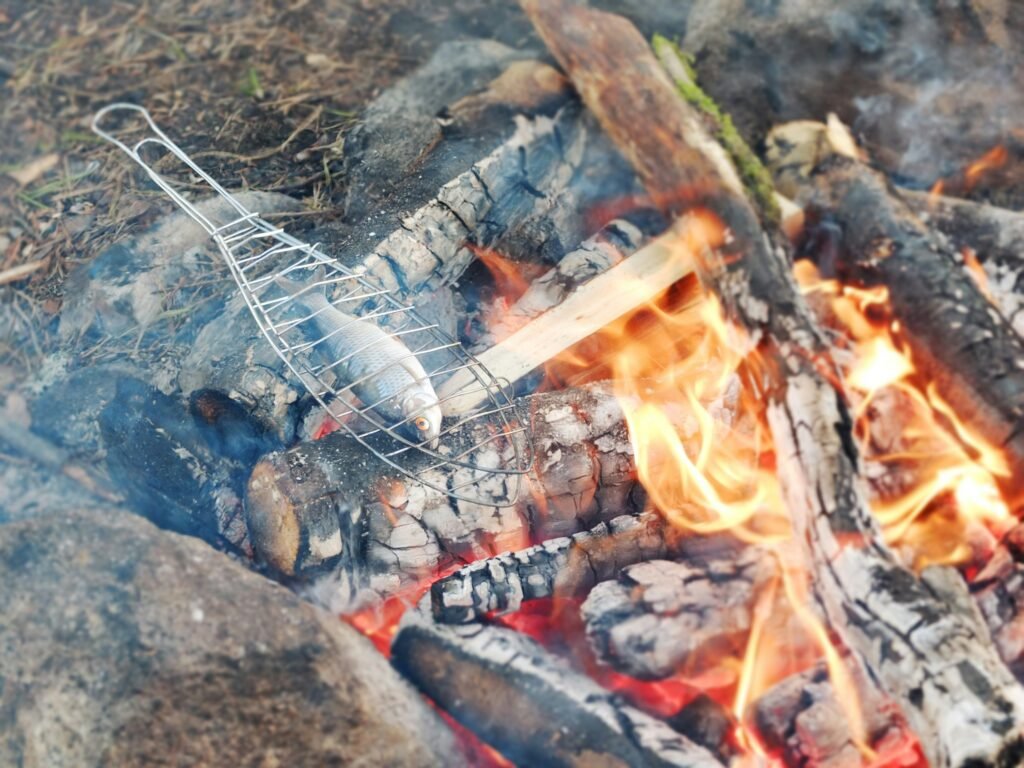
Rotating the Meat at Right Angles
Achieving the Quadrille (Diamond) Grill Pattern
To achieve a quadrille or diamond grill pattern, rotate the meat 90 degrees halfway through the grilling time on each side. This rotation creates a second set of grill marks that intersect the first set, forming the distinctive crisscross pattern. The quadrille pattern not only adds visual appeal but also ensures that the meat is evenly cooked throughout.
Timing for Rotation
Knowing when to rotate the meat is crucial for obtaining well-defined grill marks. The ideal time to rotate is after about half of the grilling time on each side. This allows for proper searing of the meat and caramelization to develop grill marks without compromising the juiciness or overcooking the meat. Use a timer or keep a close eye on the meat while grilling to ensure the perfect timing for rotation.
Maintaining Consistent Pressure
While rotating the meat, it is important to maintain consistent pressure during grilling. The weight of the meat is essential in creating evenly distributed grill marks. Avoid pressing down on the meat excessively, as it can lead to the juices being squeezed out and result in a dry texture. Consistent and gentle pressure ensures beautiful grill marks while retaining the natural juices within the meat.
Checking for the Perfect Grill Marks
Signs of Perfectly Grilled Meat
When your meat is perfectly grilled, there are certain signs to look out for. Well-defined grill marks with a dark brown color indicate proper caramelization and searing. The marks should be evenly spaced and crisscrossed, forming an attractive pattern. Additionally, the meat’s internal temperature should be cooked to the desired doneness, which can be measured using a meat thermometer. A visually appealing appearance, along with optimal internal temperature, ensures a perfectly grilled dish.
Avoiding Common Mistakes
To avoid unwanted blemishes on your grill marks, it is crucial to prevent flare-ups and excessive charring. Flare-ups can lead to uneven cooking and charred spots that overshadow the grill marks. Control flame flare-ups by reducing the heat or moving the meat away temporarily. Additionally, excessively flipping or moving the meat during grilling disrupts the formation of grill marks. Patience and careful attention to the grilling process will yield the best results.
Correcting Failed Grill Marks
If your grill marks have not turned out as desired, there are ways to salvage the situation. Utilize a grill pan or a cast-iron skillet to create grill marks on the stovetop. The ridges on the pan or skillet will mimic the grill grates and allow you to achieve those sought-after marks. Another option is to use a culinary blow torch to sear the meat’s surface, creating artificial grill marks. With a little ingenuity, you can still achieve an appetizing appearance despite any initial setbacks.
Serving the Grilled Meat
Resting the Meat Prior to Serving
Resting the grilled meat before serving is essential to lock in the juices and distribute them evenly throughout the meat. This resting period allows the internal temperature to stabilize and ensures that the meat remains tender and juicy. Place the meat on a cutting board and loosely cover it with foil, allowing it to rest for a few minutes. This rest time also gives you an opportunity to prepare any accompanying sides or sauces.
Cutting Techniques for Grilled Meat
To showcase the beauty of the grill marks, it is important to use the right cutting techniques when serving. Slice the meat against the grain, perpendicular to the direction of the muscle fibers. This ensures tender and easy-to-chew pieces and prevents the meat from becoming stringy. When slicing, be mindful of the grill marks and maintain their visual integrity to present a visually appealing dish.
Appropriate Sides and Sauces for Grilled Meat
Choosing the right sides and sauces can complement the flavors and the visual appeal of the grilled meat. Consider pairing your grilled meat with vibrant and flavorful fresh salads, vegetables, or grilled seasonal vegetables. A tangy chimichurri sauce or a creamy aioli can add a burst of flavor to the meat. The sides and sauces should complement and elevate the flavors of the grilled meat, enhancing the overall dining experience.
Mastering Advanced Grilling Techniques
Using Indirect Heat for Grilling
Indirect heat grilling is an advanced technique that allows for slow and controlled cooking. By utilizing both direct and indirect heat zones on the grill, you can sear the meat to develop initial grill marks and then transfer it to the indirect heat side to finish cooking. This technique ensures that the interior of the meat is perfectly cooked while maintaining the beautiful grill marks. It is particularly useful for thicker cuts that require a longer cooking time.
Understanding the Science of Searing
Searing is the process of browning the surface of the meat to create a rich and flavorful crust. The Maillard reaction, which occurs when proteins and sugars react at high temperatures, is responsible for the development of this crust. The intense heat of the grill enables the Maillard reaction, resulting in the formation of grill marks and the depth of flavor associated with seared meats. Understanding the science behind searing allows you to fully appreciate and master the art of creating perfect grill marks.
Exploring Different Grill Types and Their Impact
Different grill types, such as gas, charcoal, or pellet grills, can have varying effects on the formation of grill marks and overall grilling experience. Gas grills, for example, provide precise temperature control, which is crucial for achieving consistent grill marks. Charcoal grills impart a distinct smoky flavor to the meat and help create deeper grill marks. Pellet grills offer the convenience of automated temperature control, allowing you to focus on perfecting your grill marks. Understanding the capabilities of different grill types can greatly enhance your grilling skills.
By following these comprehensive guidelines on understanding the importance of grill marks, selecting the right type of meat, preparing the grill and meat, timing the grill marks, setting the meat on the grill, rotating the meat at right angles, checking for the perfect grill marks, serving the grilled meat, and mastering advanced grilling techniques, you will be well on your way to becoming a grill master. So bring out your tongs, fire up your grill, and get ready to create those picture-perfect grill marks that will impress both your eyes and taste buds. Happy grilling!
