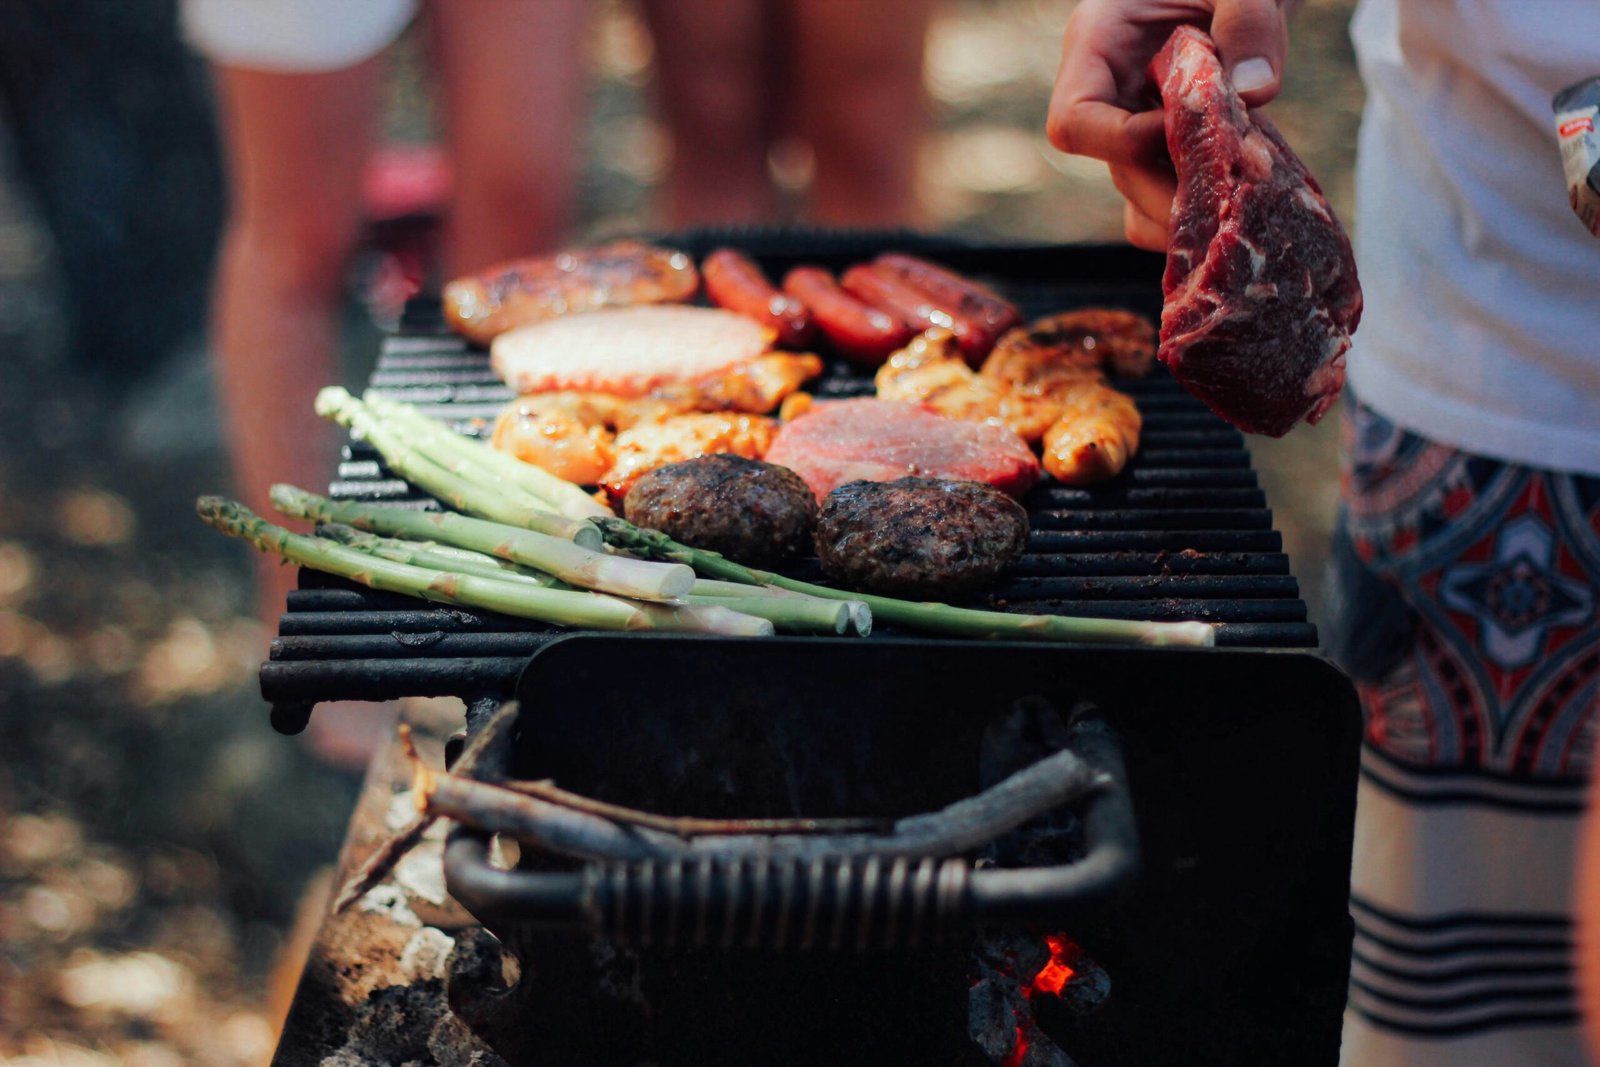
Imagine this scenario: you’re hosting a summer barbecue and want to impress your guests with perfectly cooked steaks. But wait, what does it mean to sear a steak and how do you achieve that delicious caramelization on a grill? In this article, we will demystify the concept of searing and guide you through the process of achieving it on a grill. Get ready to elevate your grilling game and become the ultimate steak connoisseur in your backyard!
Understanding the Searing Process
Searing is a cooking technique that involves cooking meat at a high heat for a short period of time to create a browned crust on the surface. This process not only adds flavor but also gives the meat an attractive appearance. Understanding the science behind searing and its end result is crucial to mastering this technique on a grill.
The Definition of Searing
Searing refers to the process of browning the surface of meat quickly at high heat. The goal is to create a flavorful crust while keeping the interior tender and juicy.
The Science Behind Searing
When meat is seared, a chemical reaction known as the Maillard reaction occurs. This reaction causes the amino acids and sugars present in the meat to react, resulting in the formation of new compounds that give the meat its rich flavor and appealing color.
The End Result of Searing
The end result of searing is a beautifully caramelized crust on the meat, which enhances its flavor and appearance. The exterior of the meat becomes slightly crispy, while the interior retains its moistness and tenderness. Searing also helps to lock in the natural juices and nutrients, making the meat even more delicious.
Purposes of Searing on a Grill
Searing plays a significant role in grilling and has several purposes that make it an essential technique for achieving the best results.
Significance of Searing in Grilling
Searing is particularly important in grilling as it helps to create that desirable crust on the meat. This crust not only adds flavor but also provides an appealing texture and appearance. Searing also helps to seal in the natural juices of the meat and enhances its overall taste.
Impact on Flavor
The Maillard reaction that occurs during searing enhances the flavor of the meat. The browning of the surface creates new compounds that contribute to a rich, savory flavor. The caramelization also adds depth and complexity to the taste, elevating the overall dining experience.
Preservation of Juices and Nutrients
Searing helps to seal the surface of the meat, preventing the loss of juices and nutrients during the cooking process. By creating a barrier, the natural moisture and flavors of the meat are locked in, resulting in a more succulent and flavorful final product.
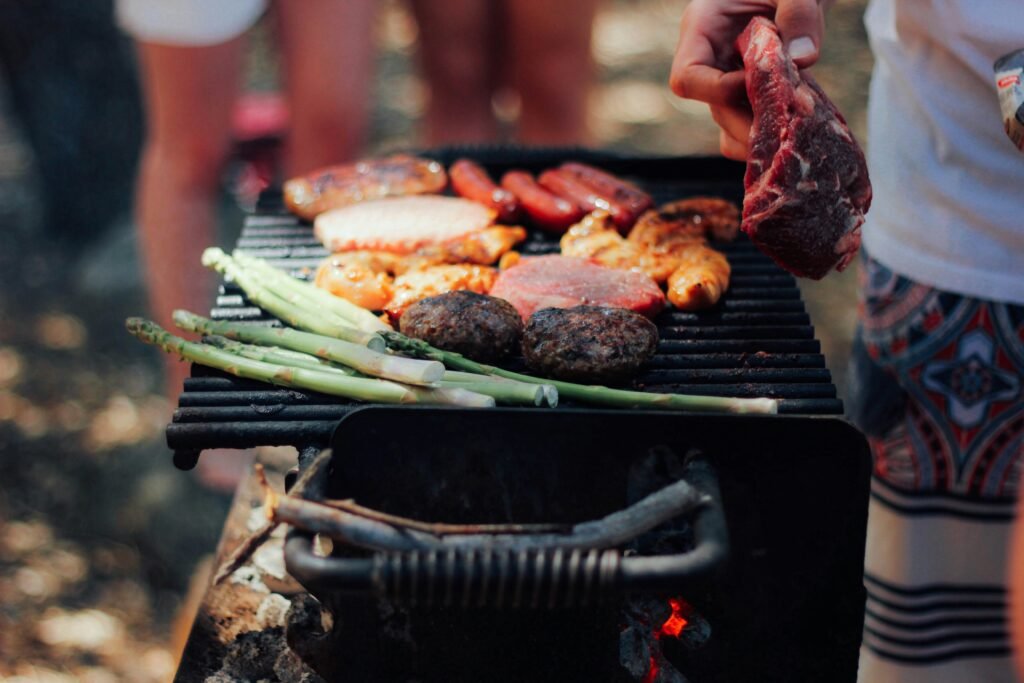
Preparation for Searing
Proper preparation is crucial when it comes to achieving the best results with searing on a grill. From choosing the right cuts of meats to marinating for optimum results, each step contributes to the success of the searing process.
Choosing The Right Cuts of Meats
Not all cuts of meat are ideal for searing. It is important to choose cuts that are tender and have enough fat content to create a delicious crust. Steaks such as rib-eye, strip loin, and tenderloin are popular choices for searing as they contain the right balance of tenderness and marbling.
Optimum Meat Temperatures for Searing
To achieve the desired sear, it is essential to start with meat that has reached room temperature. Allowing the meat to sit at room temperature for about 30 minutes before grilling ensures even cooking and helps to prevent the meat from drying out.
Marinating for Optimum Results
Marinating your meat before searing can enhance its flavor and tenderness. A marinade can be as simple as a mixture of oil, herbs, and spices, or a more complex blend of ingredients. The marinade not only adds flavor but also helps to tenderize the meat, resulting in a more enjoyable final dish.
Choosing the Right Grill for Searing
The type of grill you use can greatly impact the success of your searing. Different grills offer various features and capabilities, making it important to choose the right one that suits your needs.
Comparing Gas, Charcoal, and Electric Grills
Gas grills, charcoal grills, and electric grills each have their own advantages when it comes to searing. Gas grills offer precise temperature control, while charcoal grills provide smoky flavors. Electric grills are convenient and easy to use, making them suitable for searing smaller cuts of meat.
Ideal Grill Features for Searing
When choosing a grill for searing, there are certain features to consider. Look for grills with high heat capabilities, as searing requires cooking at a very high temperature. Additionally, grills with a cast-iron cooking grate or a thick stainless steel grate are ideal as they retain and distribute heat evenly.
Searing on Open-Flame Grills
Open-flame grills, such as fire pits or grills with adjustable grates, can offer a unique searing experience. By directly exposing the meat to the open flame, a charred and smoky flavor can be achieved. However, it is important to exercise caution and ensure proper safety measures are followed when using open-flame grills.
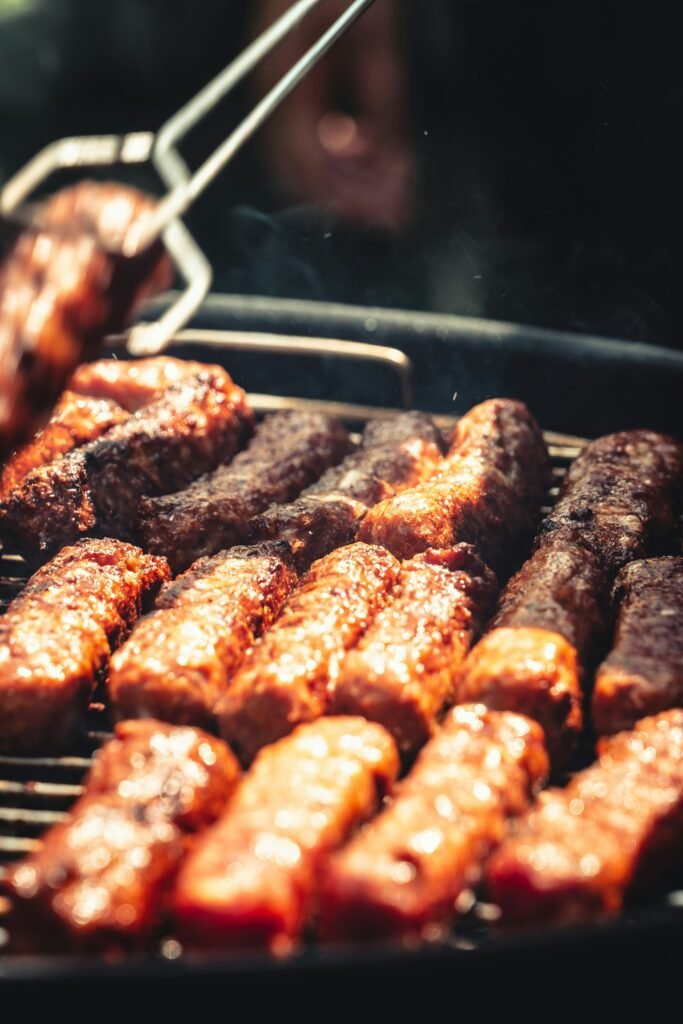
Getting the Grill Ready
Properly preparing the grill is essential before starting the searing process. Preheating the grill, setting up the two-zone fire, and checking the grill temperature are crucial steps for achieving optimal results.
Preheating the Grill
Before searing, it is important to preheat the grill to the desired temperature. Preheating ensures that the grill grates are hot enough to create the desired crust on the meat. Depending on the grill and the desired temperature, preheating may take anywhere from 10 to 30 minutes.
Setting Up The Two Zone Fire
Creating a two-zone fire allows for both direct and indirect heat zones on the grill. The direct heat zone is where searing will take place, while the indirect heat zone is used for finishing or cooking the meat through after searing. This setup provides flexibility and allows for precise control over the cooking process.
Checking the Grill Temperature
To achieve the perfect sear, it is crucial to monitor the grill temperature. Invest in a reliable meat thermometer or use an infrared thermometer to ensure that the grill reaches the desired temperature. This will help to prevent under or overcooking the meat.
Searing Technique
Mastering the searing technique is key to achieving exceptional results. From properly positioning the meat on the grill to knowing the cooking times and techniques to avoid sticking, each step contributes to a successful sear.
Positioning of Meat on Grill
When searing, place the meat directly over the high, direct heat source of the grill. For steak or larger cuts of meat, position the meat on a diagonal angle across the grill grates to create those appealing grill marks. Avoid overcrowding the grill to ensure even cooking and proper browning.
Cooking Times for Searing
The cooking times for searing vary depending on the type and thickness of the meat, as well as personal preference for doneness. As a general rule, sear each side of a steak for about 2-3 minutes for medium-rare. Adjust the cooking time accordingly for desired levels of doneness.
Techniques to Avoid Sticking
To prevent the meat from sticking to the grill grates, ensure that the grill is properly preheated and oiled before placing the meat on it. Brushing the grates with a high-heat oil, such as vegetable or canola oil, helps to create a non-stick surface. Avoid flipping the meat too often, as this can cause it to stick or lose its crust.
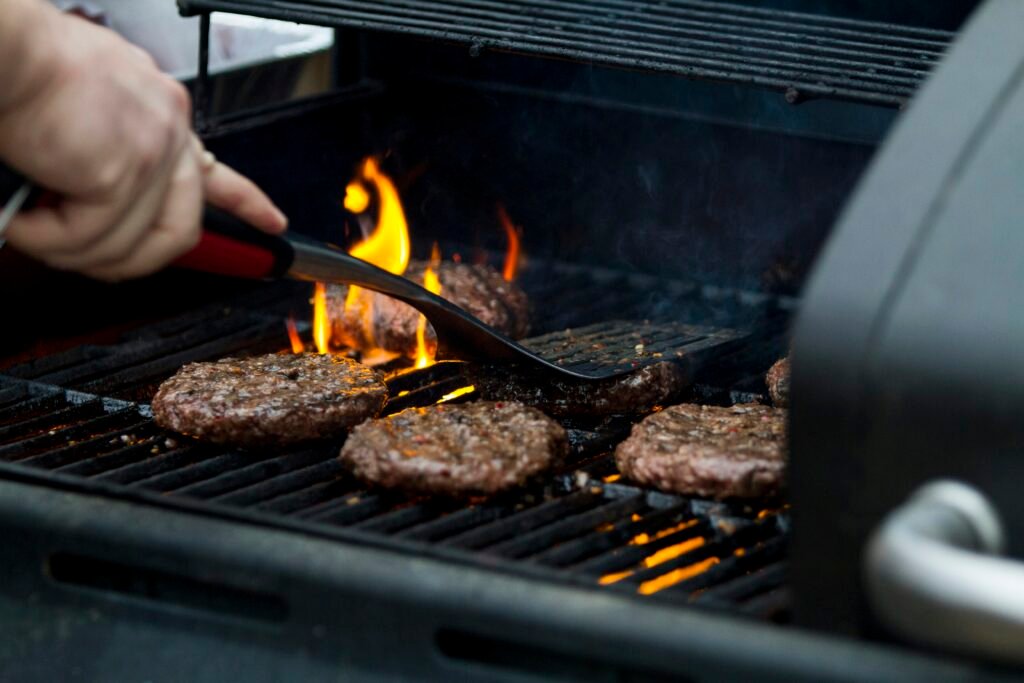
Post-Searing Procedures
After achieving the perfect sear, there are important steps to follow to ensure the meat is cooked to perfection and retains its juices.
Moving Meat to the Indirect Zone
Once the desired sear has been achieved, move the meat to the indirect heat zone of the grill to continue cooking. This allows the heat to penetrate the meat evenly and ensures that the interior reaches the desired level of doneness. Keep the grill lid closed during this phase to trap the heat and maintain a consistent cooking environment.
Proper Resting of Meat
Resting the meat after searing is a crucial step for allowing the juices to redistribute and the meat to become more tender. As a general guideline, let the meat rest for about 5-10 minutes before carving or serving. This resting period enhances the overall texture and juiciness of the meat.
Testing for Doneness
To ensure that the meat is cooked to the desired level of doneness, use a meat thermometer to check the internal temperature. Different types of meat have different recommended internal temperatures for each level of doneness. Refer to a meat temperature guide for accurate readings and desired levels of doneness.
Common Mistakes While Searing on the Grill
While searing on the grill can yield delicious results, there are common mistakes to avoid to achieve the best outcome.
Grilling Too Cold or Too Hot
One common mistake is not preheating the grill to the proper temperature. If the grill is too cold, the meat may not develop a desirable crust. On the other hand, if the grill is too hot, the exterior of the meat may burn before the interior reaches the desired level of doneness. Always ensure the grill is at the right temperature for searing.
Moving the Meat Too Often
Moving the meat too frequently while searing can prevent the crust from forming properly. It is important to let the meat cook undisturbed for a few minutes on each side to allow for proper browning. Avoid the temptation to constantly flip or move the meat around on the grill.
Not Letting the Meat Rest
Resting the meat after searing is a crucial step that is often overlooked. Skipping this step can result in the loss of flavorful juices, causing the meat to become dry. Take the time to let the meat rest before carving or serving to ensure a moist and flavorful final dish.
Safety Precautions During Searing
Practicing safety precautions while searing on the grill is vital to prevent accidents and ensure a pleasant grilling experience.
Handling Flare-Ups
Flare-ups can occur when fat drips onto the flames, causing sudden bursts of intense heat. To prevent flare-ups, trim excess fat from the meat before searing and keep a spray bottle nearby to extinguish any flames that may arise. By being vigilant and prepared, you can minimize the risk of flare-ups.
Using Proper Grilling Tools
When searing on the grill, it is important to use proper grilling tools such as long-handled tongs or spatulas. These tools will help you handle the hot meat and maneuver it on the grill without risk of burns. Avoid using flimsy or makeshift tools that may put you at risk.
Maintaining a Safe Distance from the Grill
Grills can reach extremely high temperatures, so it is important to maintain a safe distance while searing. Avoid leaning in or placing any part of your body directly over the grill. Stay aware of your surroundings and ensure that children and pets are kept away from the grill area to prevent accidents.
Fine Tuning Your Searing Skills
To become a master at searing on the grill, it is important to continually improve your skills and experiment with different techniques and meats.
Experimenting with Different Meats
Don’t limit yourself to just one type of meat when searing. Experiment with various cuts of beef, poultry, pork, and even seafood to discover new flavors and textures. Each type of meat requires different cooking times and techniques, so use this as an opportunity to expand your culinary repertoire.
Adjusting Grilling Times
Grilling times can vary depending on factors such as the thickness of the meat, the grill temperature, and personal preferences for doneness. Take note of the cooking times and temperatures that yield the best results for your specific grill and cut of meat. Fine-tune these variables to achieve your desired level of doneness and flavor.
Learning From Common Mistakes
The journey to becoming a skilled searer involves learning from mistakes and adjusting your technique accordingly. Take note of any mishaps or less-than-perfect results and use them as learning opportunities. With each searing session, you will gain valuable experience and eventually develop your own personal searing style.
In conclusion, searing is a valuable technique for achieving flavorful and visually appealing meat on the grill. By understanding the science behind searing, properly preparing the meat, selecting the right grill, and following the correct searing techniques, you can elevate your grilling game to new heights. Practice safety precautions, learn from your mistakes, and continue to fine-tune your skills to become a master searer. Happy grilling!
